About GLDF Container
Introduction
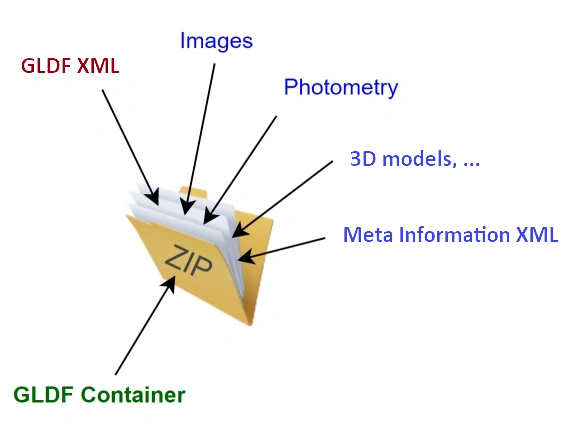
Now that a GLDF XML file has been created as described in the previous chapters, the next step is to package it together with the referenced files in a common ZIP archive. We decided to do this so that GLDFs always consist of a single file - and are thus easier to exchange or download. It also reduces the risk of files being forgotten when they are passed on.
Another advantage is compression, so GLDFs consume less storage space and/or bandwidth.
In addition, we evaluate signing of GLDF archives for the future. So that once created, they become immutable. And a manufacturers can guarantee that they were created by them and not manipulated. This includes all enclosed marketing, technical and photometric data as well as all files. For this purpose, another signature file will be added to the archive, which can only be generated by the manufacturer.
Even it is possible to create GLDFs without any files. Or to reference them exclusively online - to create a valid GLDF file, it is always necessary to package it in a ZIP archive with the file extension .gldf
How to create
Lets step throuh a simple example on how to create a GLDF container. A complete specification follows in the next chapter.
- The best way to start is to create an empty directory and to copy the GLDF XML and all corresponding files into it:
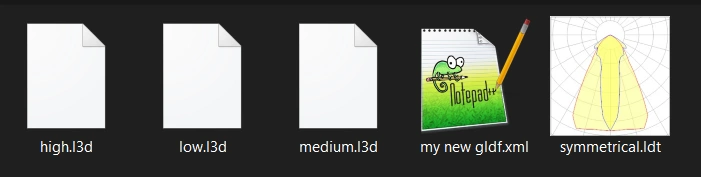
In this example we have 5 files this way:
- The GLDF XML file itself named my new gldf.xml
- One referenced Eulumdat file named symmetrical.ldt
- Three geometry files for the three level of detail (see
Geometries) named low.l3d, medium.l3d and high.l3d
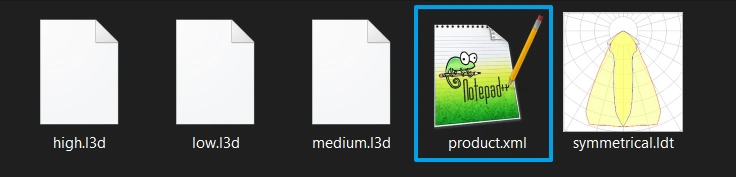
- Rename your GLDF XML file to product.xml, as this is the expected name inside the container
- Move all files into subdirectories
The name of each subdirectory must follow specific rules: its the first part of the conentType of the files it contains. For all possible content types see Files documentation.
So for all JPG images with the content type image/jpg it would be image. For all PNG images with the content type image/png it would be image as well. For geometry files with the content type geo/l3d it would be geo. And for photometries with the contentType ldc/ldt it would be ldc. And so on.
In our example, as we have geometries and a photometry file, the folder structure should now look like this
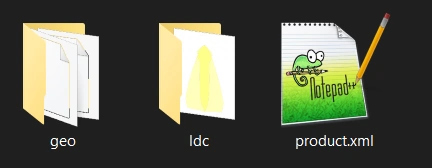
With the subdirectories
- geo 🠖 low.l3d + medium.l3d + high.l3d
- ldc 🠖 symmetrical.ldt
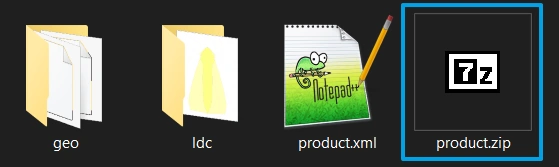
- Compress all the content with a tool like 7-Zip. Or using the Windows File Explorer: Select all files/folders 🠖 right click and choose Send To 🠖 compressed (zipped) folder
- Finally, rename the resulting file extension to .gldf (it may be necessary to activate the visibility of file extensions in your Windows File Explorer
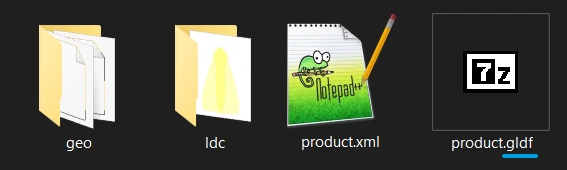
- The GLDF file created this way can now be distributed and used